Backstitch secures the seam that you have just sewn so that it doesn’t unravel by securing the thread in place. To backstitch:
When you reach the end of your sewing, repeat step 2 and 3 but this time stop at the end of the stitches. Finally snip the thread.
A hidden stitch closes up a seam without showing any stitches. To sew using hidden stitch you need to:
The Holiday Crafts and Creations website provides a great guide in how to do blanket stitch. Refer to the section titled ‘Sewing along edge: Two layers’.
Straight stitch is essentially what it says, a row of straight stitches one after the other. For the make your own craft kits, sew the stitches close together without leaving much of a gap.
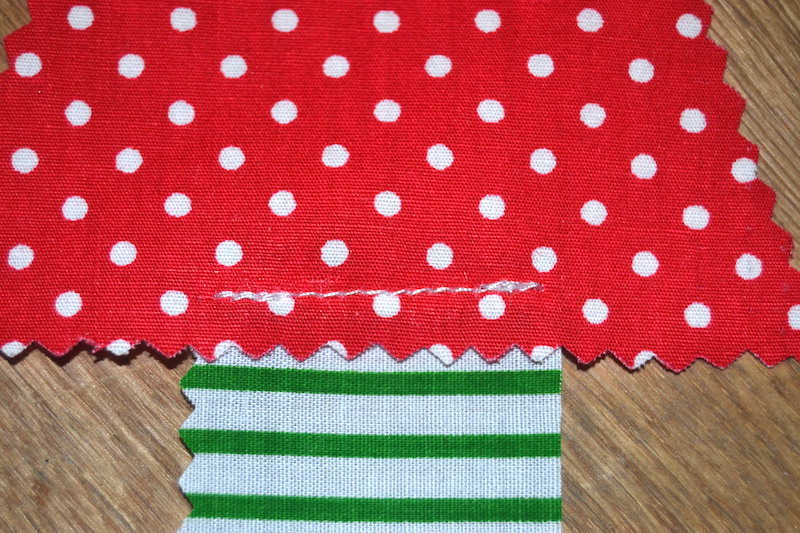
The seam allowance is the area between the edge of the material and the stitches which hold the material together.
Example: If you are advised to leave a seam allowance of 1cm this means you will sew your row of stitches 1cm from the edge of the material.
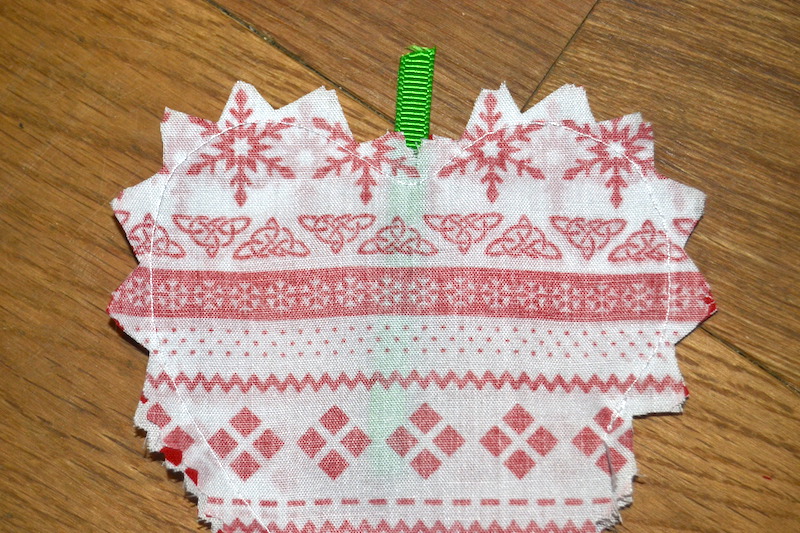
Notches are cut around the curve in a sewing project so that when you turn it the right way round, it isn’t bulky. Cut a series of notches, spaced at regular intervals around the curves of the heart making sure not to snip too close to the stitches.
There are various ways of ‘clipping’ in sewing depending on the kind of point or edge that you are using.
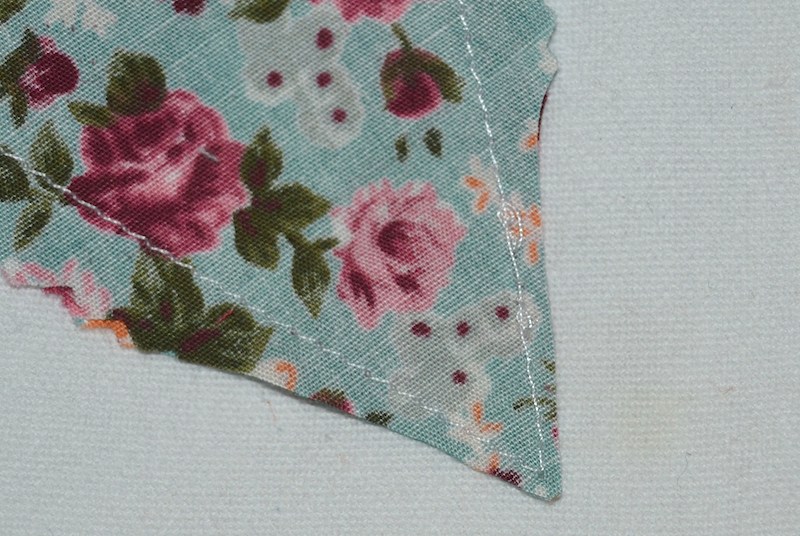
For the bunting and cushion projects, the type of clipping used is the same. Firstly, trim the corner of the point being careful not to cut the stitches themselves.
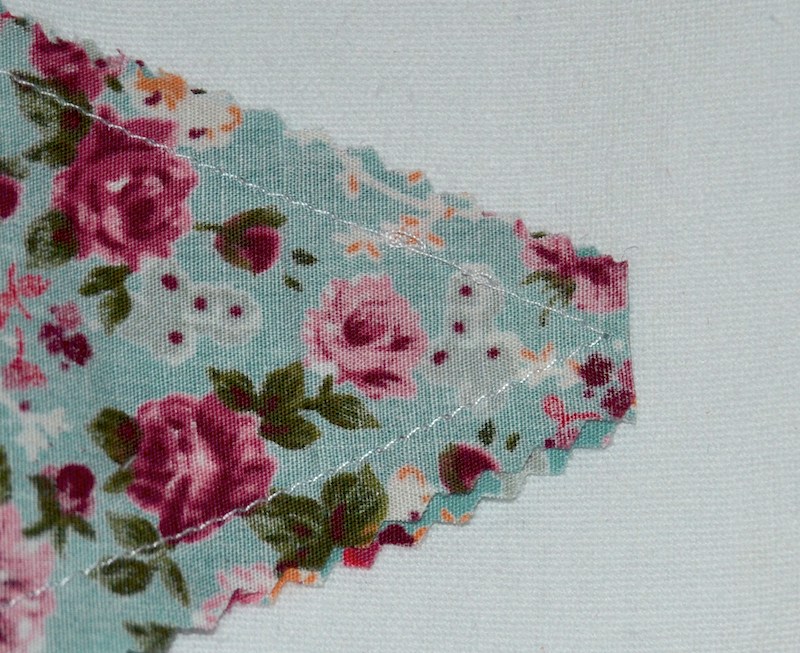
Secondly trim from the edges to the point at an angle to create a sharper point.